
Lightning photography is tricky, requiring a little patience and luck, but when it all comes together it is one of the most rewarding subjects to shoot. Photographing lightning is a lot of fun. However, being one of the most unpredictable forces of nature, lightning can be dangerous if you do not use a little forethought and planning.
The key to getting the shot is to be well prepared and get the camera’s settings just right.
Photographing lightning is dangerous
I have been storm chasing for over two decades and have had a lot of close calls with lightning. I want to make one thing clear to you — lightning will most likely be the most dangerous natural phenomenon you will try to photograph.

One simple rule you should always keep in mind: If you can hear thunder, you’re vulnerable to being struck by lightning. In fact, it can strike as far as 8 or 16 kilometers from the storm in areas that most people do not consider to be lightning-risk areas.
Lower your risk by remaining in a hard-topped vehicle and shooting with a window mount, or set your camera on a small sandbag facing the windscreen (make sure the windscreen is clean). You can also reduce the risk by setting up your tripod-mounted camera outside and use a remote trigger from undercover.
Equipment
Before heading out you’ll need the following equipment:
- Digital SLR — Compact cameras respond too slowly and don’t give you enough control over their settings, making a DSLR a must for lightning photography.
- Sturdy tripod — Some people get lucky by taking a good picture of lightning hand-held, but I strongly advise you to use a tripod instead. You’ll be using long exposures (perhaps 30 seconds or more), so some sort of camera support is essential. Bean bags or car-window mounts are also great to have handy.
- Cable/remote release (Intervalometer) — Pressing the shutter button by hand causes vibrations that can result in a blurry photo. A cable or remote shutter release will eliminate this problem.
- Lens — Lightning can be photographed using almost any focal length lens. Choosing a lens is subjective. Do you want to zoom in and create a close-up of a single lightning bolt or do you use a wide-angle lens to capture zigzagging bolts overhead? Make sure the lens has a switch to put it into manual focus mode, as you’ll be using that to lock the focusing at infinity.
- Rain protection for your camera — I have been known to use a shower cap. Use anything to protect your gear.
Handy apps to have on hand
Apps that will give you forecasts, storm alerts, and how many bolts a storm is producing are very handy.
- Bom.gov.au (Free) — The Bureau’s radar images show the location of rain in relation to local features such as the coastline, with different colors used to depict rainfall intensity. For example, off-white represents light drizzle, while dark red is used to depict very heavy rain (possibly containing hailstones).
- Lightning Maps (Free) — This app shows you where there are lightning strikes anywhere around the world.
A safety plan
As I said before, lightning is dangerous. If it is getting too close for comfort, you need to have a plan in place to take shelter indoors or in a vehicle to protect yourself.

Lightning storms often bring heavy rain and, in some cases, damaging hail. Do NOT get stuck outside as the tallest thing in a wide-open space holding onto a metal tripod!
Location & composition
Finding a lightning storm isn’t the tricky part; finding a location that works well for lightning photography is. I scout for locations all the time; trying to find a great spot while the storm is happening is a recipe for failing.
The goal is to find a location with a good field of view that has a large amount of sky, but still has some foreground details that will look interesting in the image. You need to think about the entire photograph, not just the lightning.
Always compose your shot with care. Try to frame the image with as few potentially distracting elements as possible, such as power lines, traffic, and airplanes. A lightning image captured with patience and skill, including proper exposure, is likely to have a stronger impact. People will look at your photo and say: “Wow!”

Positioning yourself around 9 to 16 km away from the storm is a good start. Getting any closer can be dangerous and makes it difficult to shoot the lightning effectively. If you set up further away, the strikes will likely appear too small in the final photo.
The way I judge how far away a storm is, is I count the time between a lightning bolt and the crack of thunder. At a distance of 9 km, the time is around 30 seconds.
Technique
Focus
Focusing at night is one of the hardest things to do without some knowledge. Below are a few techniques I use:
- Autofocus — If you have something in the distance (could be city lights, the moon, or stars) your autofocus can focus on, then go ahead and use it. But remember to turn it off once it has focused, as it will constantly try and focus, ruining any images.
- Infinity — If your lens is marked with an “infinity” focus distance, you can use that (automatically setting your lens to infinity won’t always give you the sharpest image, so double-check it).
- Manual focus — I only ever manually focus (I know it’s right). The best way to do this is by switching to the live view setting on the camera and zooming in on a distant light source on your LCD screen. Turn the focus ring until the light appears sharp. If you don’t have a distant light, have a friend walk at least 30 meters away from the camera with a flashlight, then focus on the flashlight.
Once you’re happy with the focusing, turn it off autofocus, switching the lens to manual mode. Take a test shot and make sure that your picture looks sharp on the rear LCD.
Set camera mode to manual
- Set your camera to full manual mode. Do not trust any of the camera’s automatic modes, because periodic lightning strikes will brighten up the area, and your camera may give an incorrect exposure.
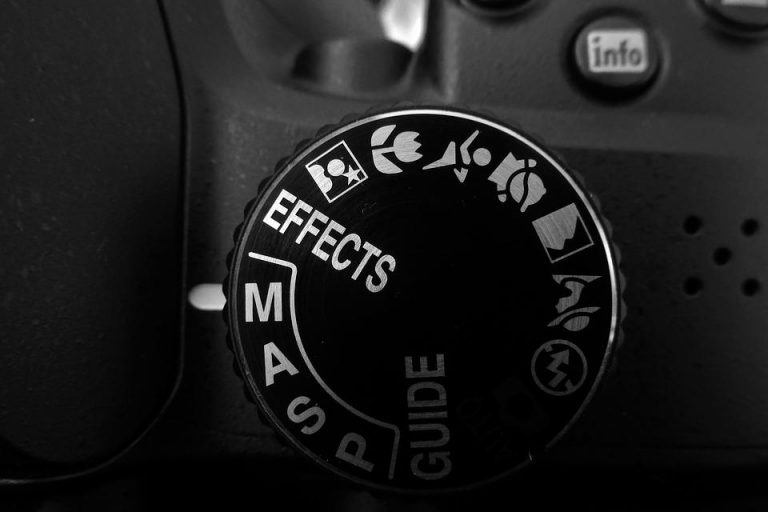
Do not trust any of the camera’s automatic modes. (Image: via Pixabay)

ISO
- My go-to ISO setting is 100; this allows for longer shutter speeds with the minimum possible noise.
Aperture or f-stop
- As with the ISO setting, my go-to for the aperture is f/11. This is to ensure as great a depth of field as possible without sacrificing the sharpness of the photograph. Setting the aperture to f/16 will give an even greater depth of field; however, the required shutter speed would be 10 seconds or longer, introducing the risk of a lightning bolt overexposing.

Set the aperture to f/11, this is to ensure as great a depth of field as possible without sacrificing the sharpness of the photograph. (Image: via Pixabay)

Shutter speed
- The easiest time to attempt lightning photography is after dark, which requires longer shutter speeds. Sunsets make for amazing images; however, I recommend you try at night first until you feel more confident and then go for it.
- The fastest shutter speed to be used for lightning photography in a dark environment is 4 seconds. This allows the shutter to be open long enough to capture a strike if the lightning activity is fairly frequent.
Cable/remote release (intervalometer)
- If your camera has a built-in intervalometer, use this to take a sequence of images and at some stage, a lightning bolt will happen while the shutter is open.
- If you don’t have a built-in intervalometer, then this is where you can use a cable release. Set your camera’s drive mode to continuous and start taking images until a bolt of lightning appears when your shutter is open.
Check your images
These settings allow the smallest margin of error and the largest chance of success. Once you get a bolt of lightning in one of your photos, review the image and make sure it looks right.
- It’s too dark — Try changing your aperture or f-stop by going to a lower value. Go to f/8 and try again to see if this works. If it doesn’t work, go down again. If you can’t go down any further, then move on to increasing your ISO in small increments.
- It’s too bright — Try changing your aperture or f-stop by going to a higher value. Go to f/16 and try again to see if this works. If it doesn’t work, go up again. If it still doesn’t work, then slow your shutter speed down to 2 sec.
Final thoughts
There are a few things to remember before you go out and try to catch lightning with a camera:
- Lightning is random; it comes and goes as it pleases, so be prepared to come away empty-handed.
- LIGHTNING IS DANGEROUS. Remember, we are talking about something that can kill or severely injure you. So always be safe and be smart.
As with most things in the world of photography, the methods I have outlined here are not the be-all and end-all for photographing lightning. Hopefully, these methods will offer a good starting place. An image of a lightning trail is unique, and a once-in-a-lifetime shot — no two lightning strikes are exactly the same way.
So have fun, good luck, and get some great shots.
Provided by: The Lightning Guy


